
troubleshooting
iPhone is disabled connect to iTunes
Nov
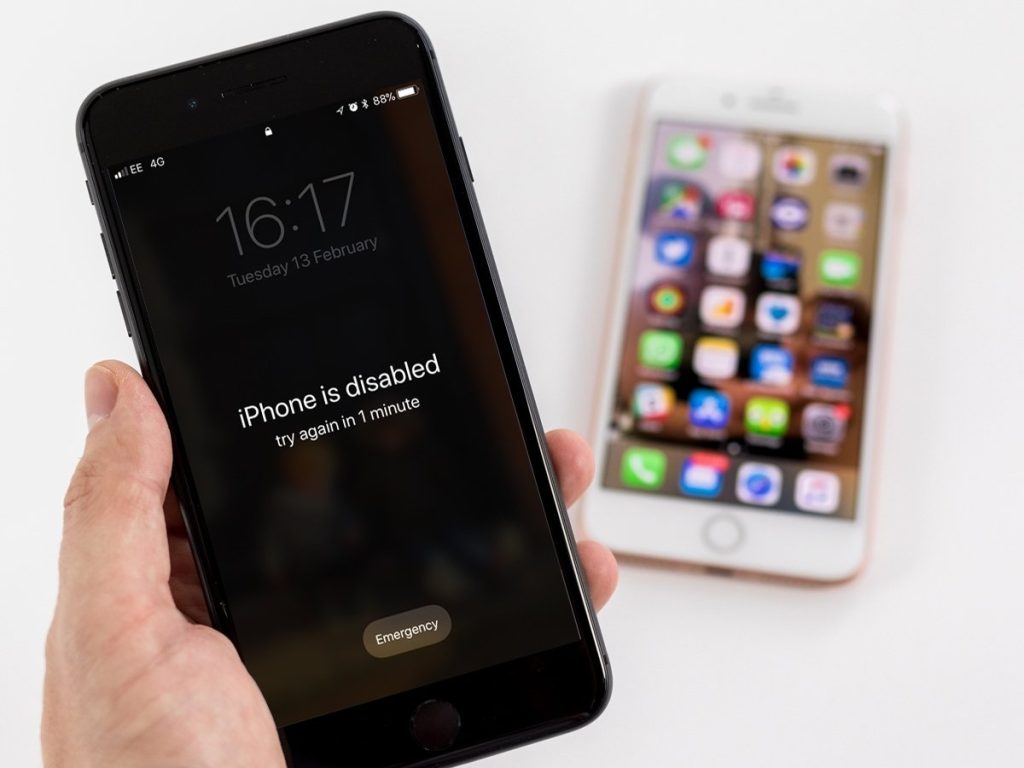
The Apple “iPhone is disabled. Connect to iTunes” error makes it so you won’t be able to unlock the device until specific steps are taken. Learn how to fix this issue here.
At first, you might be shocked to see that your iPhone is disabled. Many users have questions about what this error exactly is, The error makes it so you’re unable to access your apps, media, messages, contacts, and all the other contents of your smartphone. You need to unlock the phone before you can gain these contents back.
How to fix a disabled iPhone
If you pick your phone up and see “iPhone is disabled. Connect to Apple iTunes” you won’t be able to unlock the device until specific steps are taken. This guide focuses on what you need to do to get back into your beloved iPhone, with or without iTunes.
To unlock your phone, you may need to wait anywhere between 5 to 60 minutes, and then try to use your passcode again. However, not everyone has access to this method. Today you can learn how to fix the “iPhone is disabled. Connect to iTunes” error on your iOS smartphone device.
Why is my iPhone disabled?
When you lock your iPhone with the lock button on the side, the screen goes black and you’re stopped by the lock screen when you try to access the device. To unlock it, you need to enter the right passcode, use Touch ID, or use facial recognition.
The passcode for iPhones is similar to an account password for Windows users. However, there’s no “profile for user” on iOS phones, meaning that your device should only be accessed by you. As a security measure, your iPhone will get disabled if it detects an incorrect passcode attempt.
If there have been too many failed attempts at unlocking your phone, it automatically disables itself for a certain amount of time. Obviously, if the phone is only disabled temporarily, the message will show how long you must wait before you can try to unlock the phone again:
- Wrong passcode 5 times in a row: iPhone is disabled for 1 minute.
- Wrong passcode 7 times in a row: iPhone is disabled for 5 minutes.
- Wrong passcode 8 times in a row: iPhone is disabled for 15 minutes.
- Wrong passcode 9 times in a row: iPhone is disabled for 60 minutes.
- Wrong passcode 10 times in a row: iPhone is indefinitely disabled.
As you can see, after too many attempts, your iPhone will be disabled without a time limit. This is a security measure to prevent unauthorized access to your personal data stored on your device. There are two scenarios for this happening:
- Intentional passcode entry: You or someone else has actively tried to unlock the iPhone with the wrong passcode(s). This happens if you forgot your passcode, or if your device is compromised by someone who doesn’t know your correct code.
- Unintentional passcode entry: In rare cases, it’s possible that you accidentally entered passcodes to your device, causing it to fail and disable your iPhone. This most commonly happens if you store your phone in your pocket.
Bear in mind that your iPhone may wipe all of its data if the wrong passcode was entered 10 times and self-destruct mode is turned on.
Note: Self-destruct is one of the settings available on your iPhone. If this is turned on, after the 10th failed attempt to unlock your device with a password, your phone will automatically wipe all of its data.
Follow the instructions below to unlock your smartphone. Below are all the things you can do to successfully start using your iPhone again even after it’s been disabled.
How to fix “iPhone is disabled. Try again in X minutes”
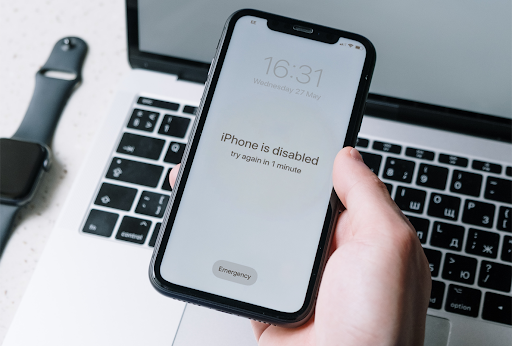
The better case scenario of a disabled iPhone allows you to simply just wait and unlock your device later. The amount of time you need to wait is displayed on the passcode entry screen. The minutes change depending on how many failed attempts were made.
You’ll see the wait time get increasingly longer each time you fail to ender the correct passcode to your iPhone. If you fail to enter the correct passcode for the 10th time in a row, your device will stay disabled indefinitely.
We regret to inform you that in this case, you can’t do anything else but wait. At the time of writing, there are no legitimate ways to speed up this counter or bypass it.
Tips:
- Once the specified amount of time has passed, the iPhone lock screen will revert to its normal state and you may try to enter the passcode again. Enter your passcode correctly to unlock the phone.
- If you can’t remember your passcode, try to for any reminders or notes. If you forgot your iPhone passcode and need to guess it, make sure not to enter the same guess twice. You only get 10 chances to get the code right before your phone enters an indefinitely disabled state.
- Move on to the next part of this article and try to recover your disabled iPhone. You won’t be able to make any more guesses in this state. The message on screen will change to alert you that you need to connect to iTunes.
How to fix “iPhone is disabled. Connect to iTunes, a Mac, or PC”
After making 10 consecutive wrong passcode entries, your iPhone will enter a disabled state. This means you won’t be able to try and unlock your phone again until you connect to iTunes on a Mac or PC.
Once your phone reaches this point, you’ll need to connect to iTunes through a Mac or PC. Doing so will enable the option to restore or recover all data on your device.
- By restoring a backup, you’ll be able to return your data prior to your phone getting disabled. You may restore a backup of your iPhone if you previously made one or have automatic backups enabled in your Settings.
- Recovery will wipe your phone clean and remove the passcode, allowing you to start over and set a new one. This results in your apps, contacts, and personal data getting removed.
Here’s what you’ll need to do to get past the “iPhone is disabled. Connect to iTunes, a Mac, or PC” screen.
Step 1. Enter recovery mode
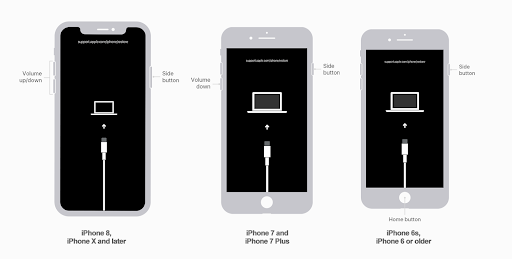
Entering the recovery mode requires different steps based on your iPhone model or settings. If you’re unsure which one you have, check the back of your phone or the user manual you received in the original box.
iPhone 8 and later
- Press and hold the Side button used to lock your screen and either one of the Volume buttons. Wait for the power-off slider to appear on the screen.
- Drag the slider all the way to the right to turn off your iPhone.
- Use a USB cable to plug your iPhone into a Mac or PC while holding the Side button. Continue holding the button until the recovery screen appears.
- Follow the on-screen instructions to recover your iPhone.
iPhone 7 and iPhone 7 Plus
- Press and hold the Side button used to lock your screen and wait for the power-off slider to appear. Turn off your iPhone.
- Connect your iPhone to a Mac or PC with a cable while holding the Volume down button. Keep pressing the button until you see the recovery screen.
- Follow the on-screen instructions to recover your iPhone.
iPhone 6s or older
- Press and hold the Side or Top button and wait for the power-off slider to appear. Turn off your iPhone.
- Connect your iPhone to a Mac or PC with your cable while holding the Home button. Keep the Home button held until you see the recovery screen.
Step 2. Locate your iPhone on your Mac or PC
After entering recovery mode, you’ll need to proceed on your Mac or PC. Depending on your operating system, follow the guide below to start recovering your smartphone and possibly restoring data.
macOS Catalina
- Open a Finder window.
- Your iPhone will show up on the left side of the Finder window under Locations. You can click on it to select it.

macOS Mojave or older, or a PC running iTunes for Windows
If your device isn’t running macOS Catalina or later, you’ll have to use iTunes in order to connect your iPhone. First, download iTunes and install it on your computer. Take the appropriate steps depending on which version of iTunes your device is running:
- On iTunes 12 and older, click on the iPhone icon in the upper-left corner of the iTunes window.
- On iTunes 11, click on the iPhone tab displayed on the right side of the iTunes window.
- On iTunes 10, the iPhone will be in the sidebar on the left.
Step 3. Choose the option to Restore
Once you’ve successfully connected and selected your iPhone on a Mac or a PC, you need to click on the Restore option.
Warning: When you restore your iPhone, all of the data on your phone will be wiped including your passcode. The latest compatible iOS version will download and install on your phone. You’ll be required to complete the setup process as well.
After the restoration is finished, follow the on-screen prompts to set up your iPhone again. If you have a backup of your data, you can restore it from iTunes. We recommend creating frequent device backups to prepare for something like this happening in the future.
What to do if iPhone won’t connect to iTunes?
There’s a possibility that your iPhone won’t connect to iTunes in a disabled state, making it impossible to restore it using the steps above. In this case, you need to restore your iPhone with iCloud.
Note: This method will only work if you previously set up Find My iPhone, and the disabled iPhone has a connection to the internet. Otherwise, we recommend visiting an Apple Store or getting in touch with customer support.
If you have set up Find My iPhone previously, follow the steps below to recover your device.
- Go to icloud.com on any computer or smartphone accessible to you, and sign in to your iCloud account. If you’re using someone else’s computer or smartphone to log in, make sure to promptly log out after you’re done.
- Click on Find iPhone.

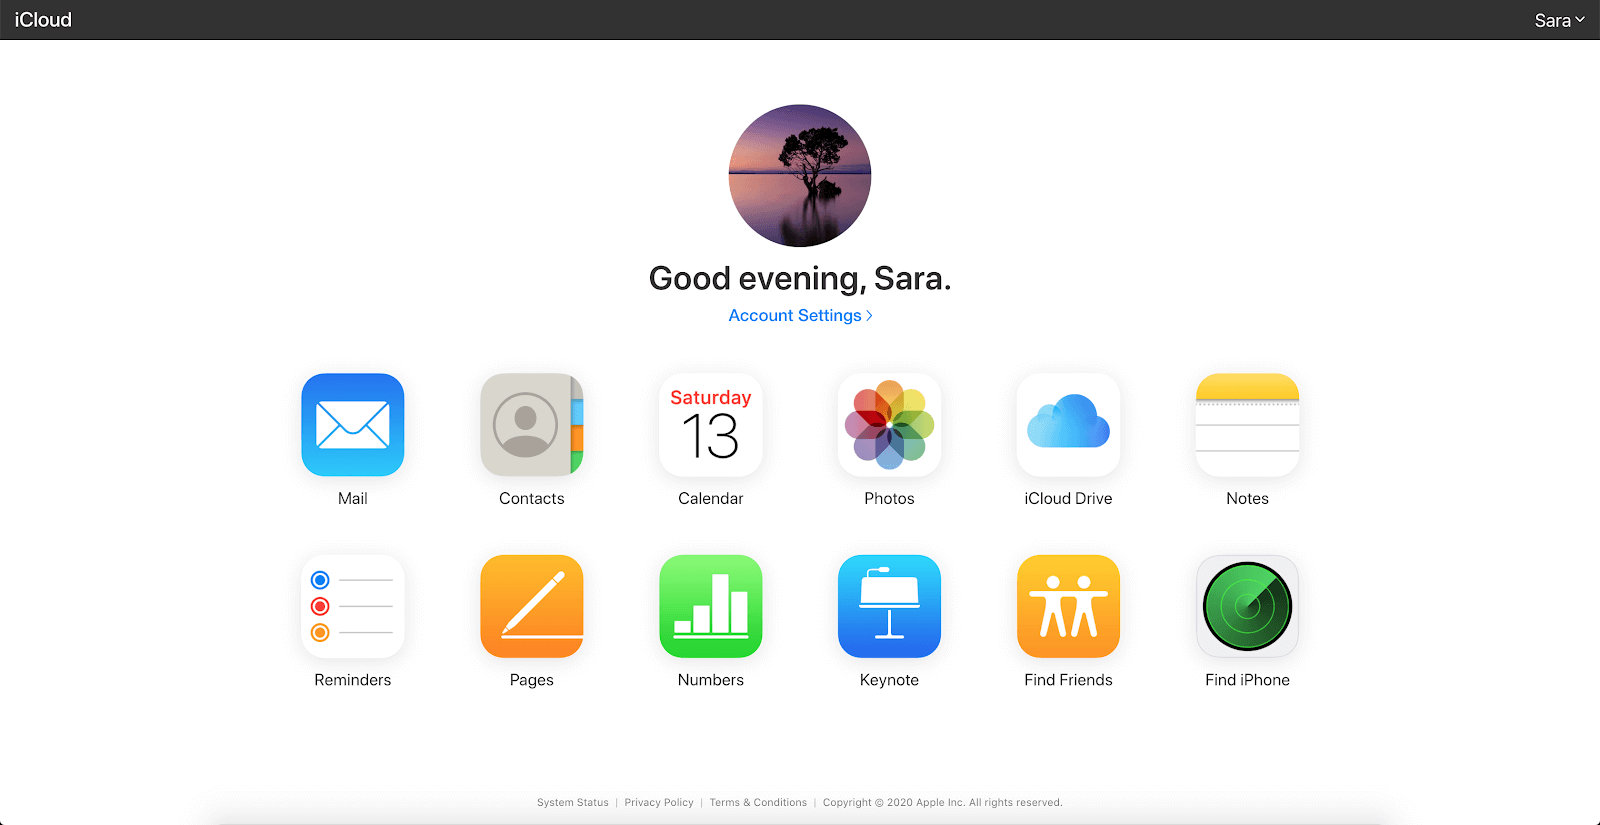
- You’ll see a map showing the current location of your iPhone, so long as you have previously set up Find my iPhone. Click All Devices, and then select the iPhone you want to restore.
- Click Erase iPhone. The same warnings apply to this method as above — your data will be erased and your old passcode will be removed.
After completing these steps, you may restore an iTunes backup or iCloud backup and gain your data back.

